
OUR WORK
Hair Extensions
Before & After
Browse real extension work from Fluff in Denver. Compare the starting haircut, where fullness is added, and how the colour connects. Save the examples that help you describe your own goal.
A closer look at the work
A silver blend, platinum length, and the details beneath the rows. Different hair goals, planned by our team in the same studio.
Silver, blended through
Aaryn adjusted the existing colour and custom-coloured 20-inch Genius Wefts to connect natural silver roots with previously coloured lengths. The plan brought the colour transition, fullness and length together.
Meet AarynPlatinum, from root to ends
A root refresh, 24-inch Beauvoir extensions, a blending cut and soft curls. Haley planned the colour, length and finish together for this transformation.
Meet HaleyEight weeks beneath the blend
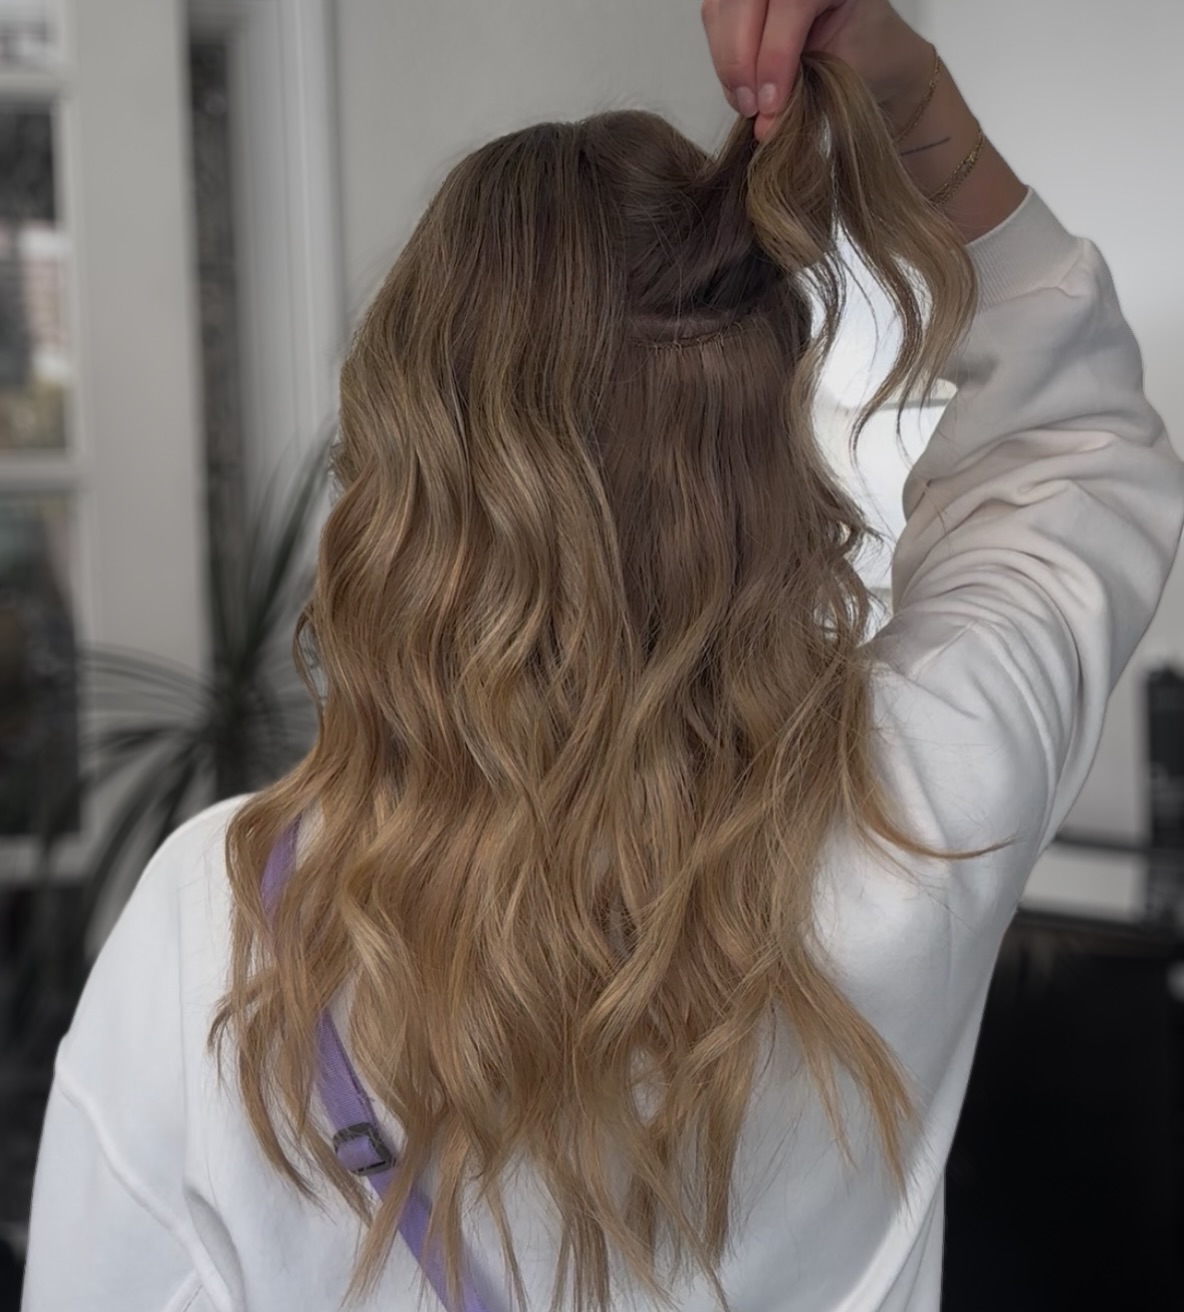
Alix shows this client’s eight-week grow-out, with a skeleton method on the lower row and standard placement above. Weight, sectioning and regular maintenance are part of the plan; the right approach starts with an individual hair assessment.
Meet Alix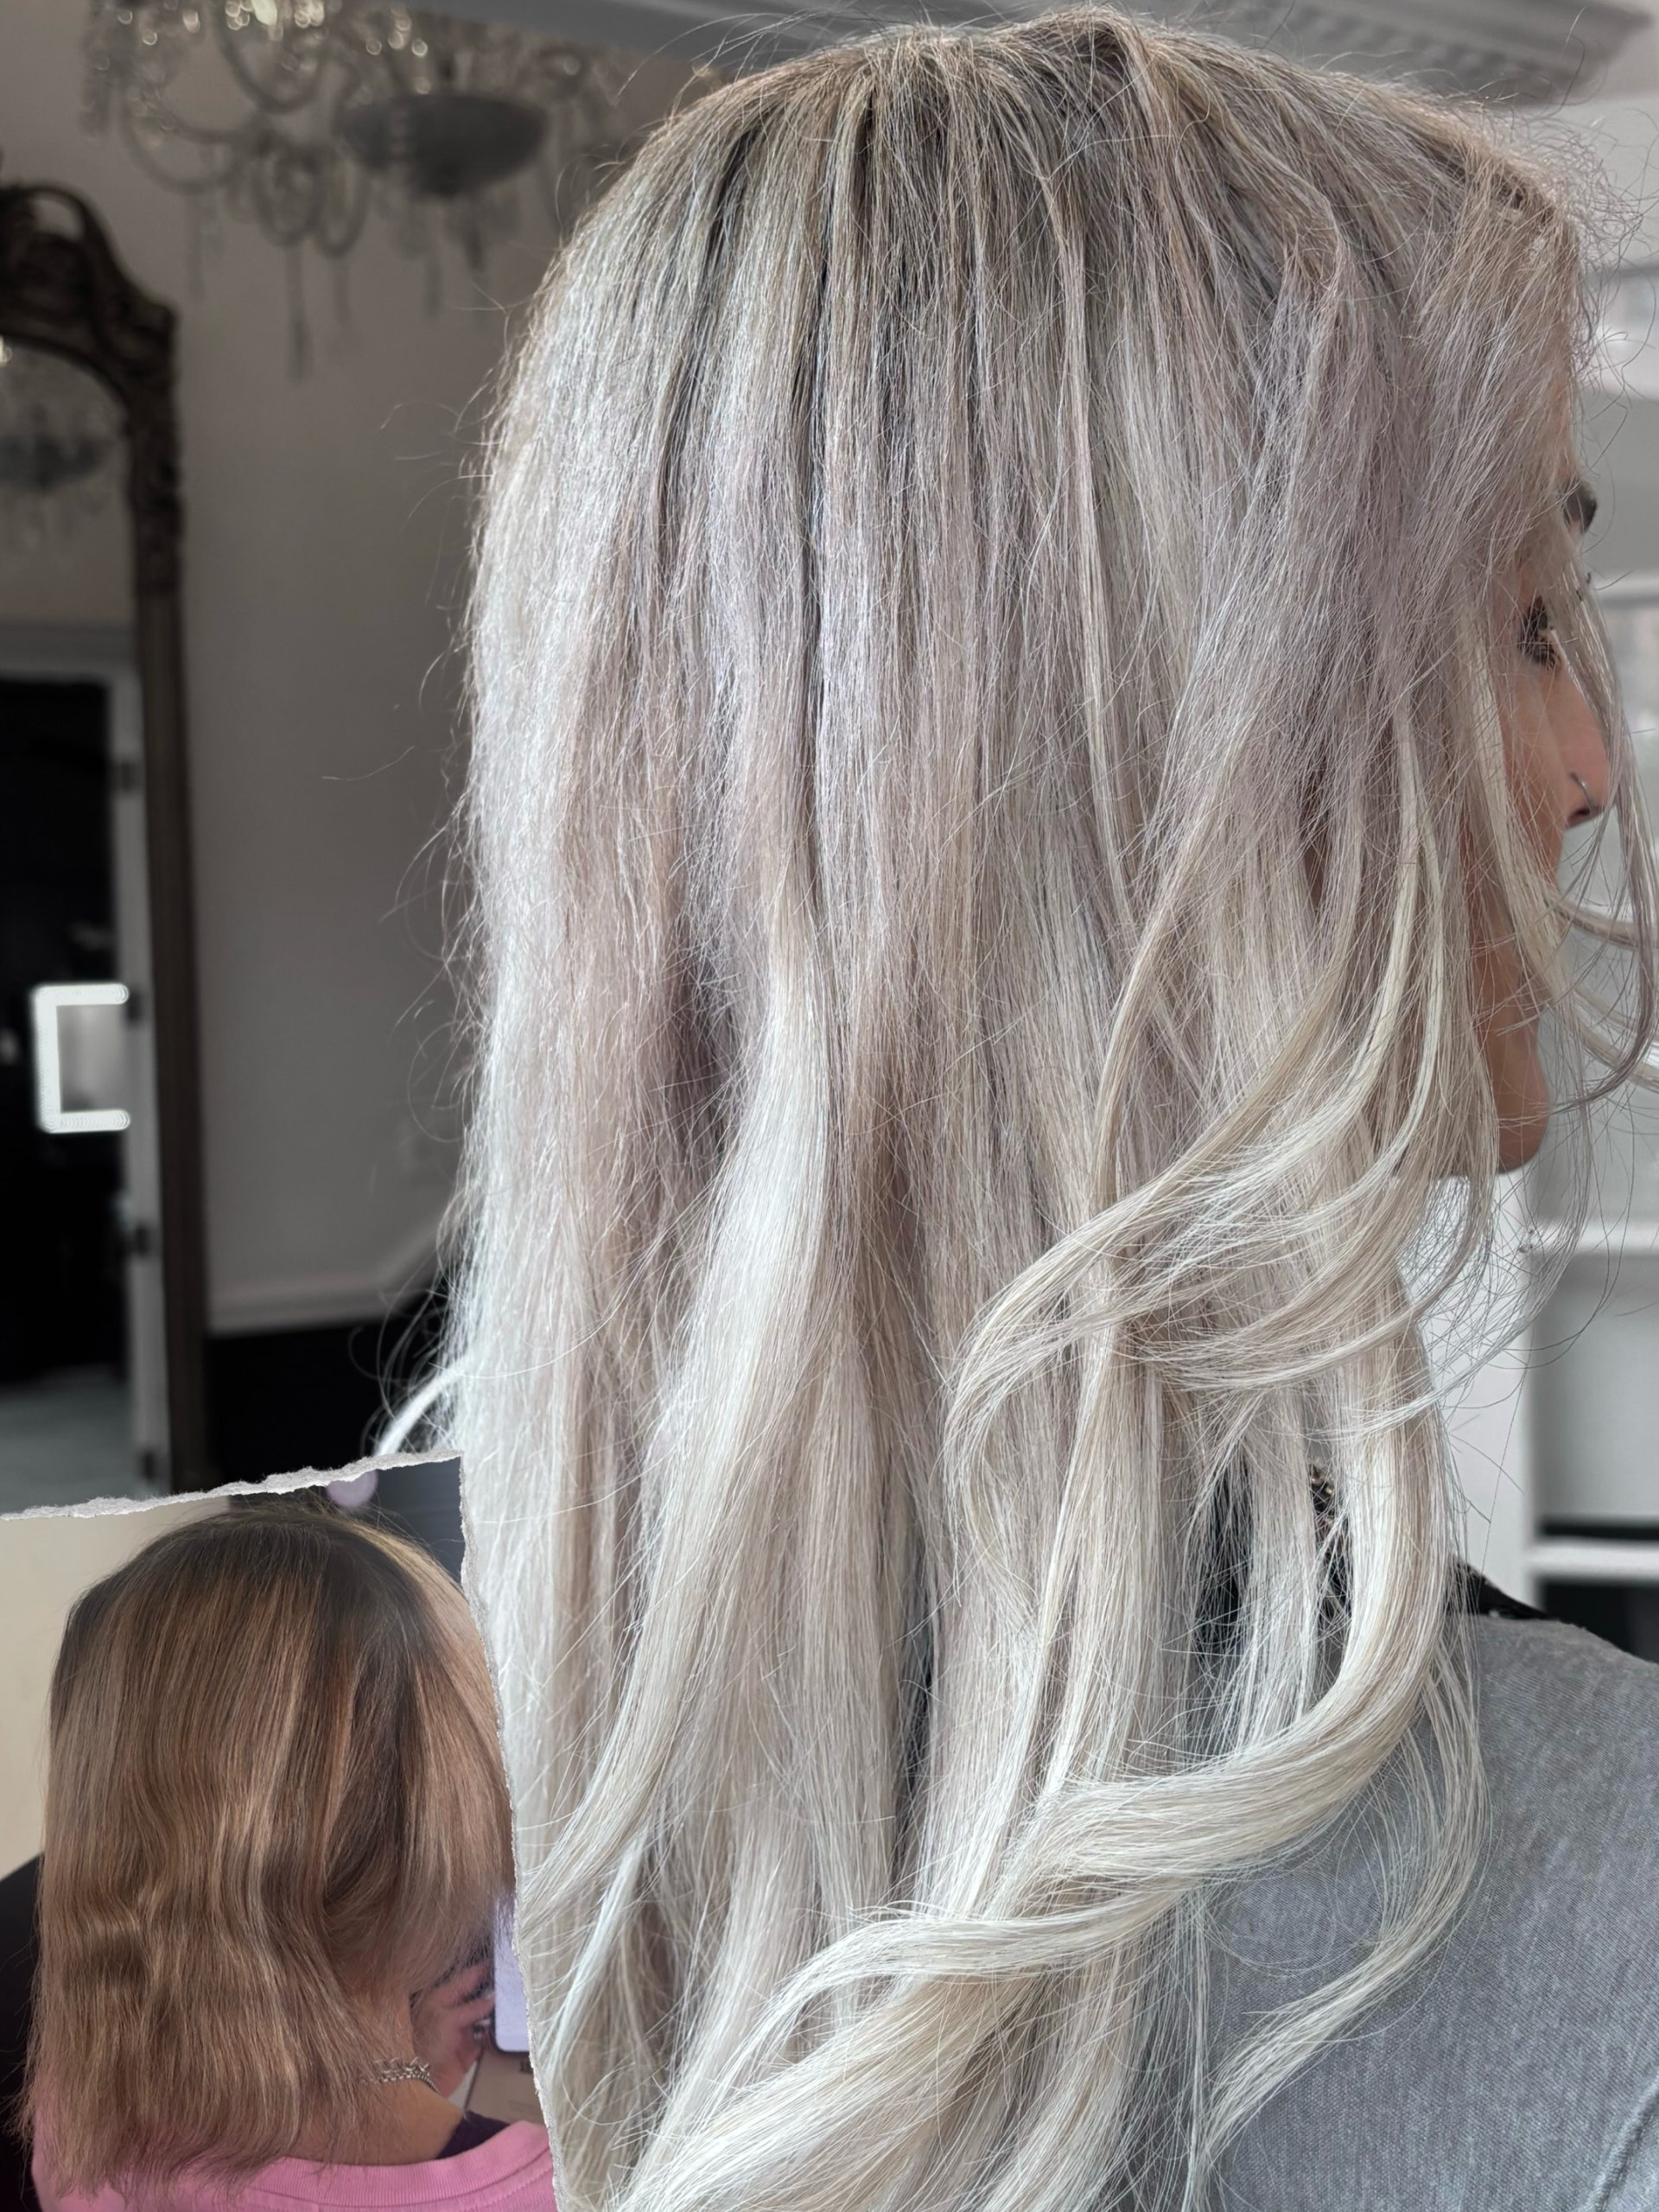
Bright blonde, with fullness
This client wanted bright blonde, length and fuller hair. Danni paired four rows of Beauvoir extensions with platinum colour using Alter Ego Italy. The inset shows the starting hair.
Meet Danni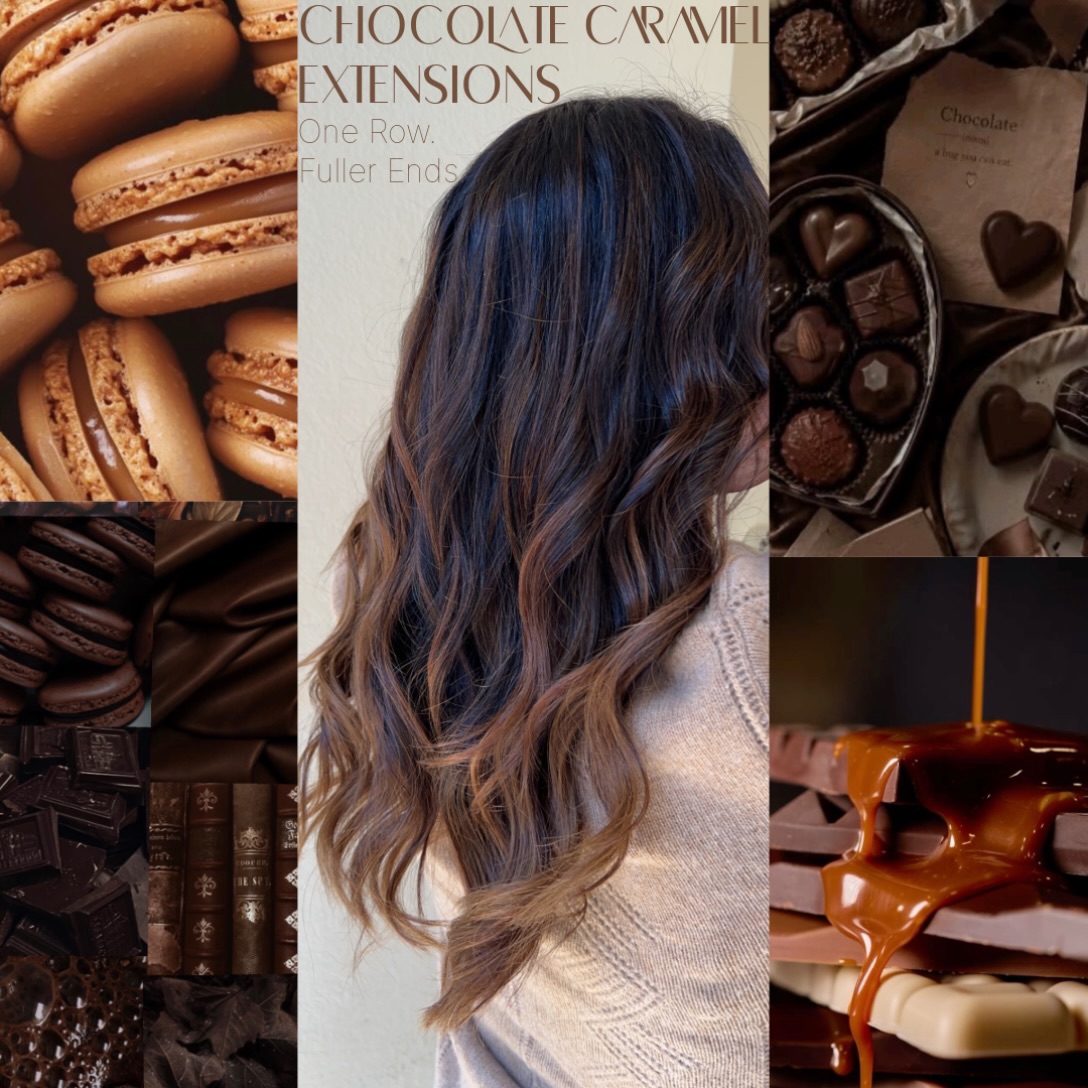
One row, fuller ends
Alix added one row of custom-coloured, 18-inch Beauvoir machine wefts for fuller ends. The chocolate and caramel blend shows a different reason to consider extensions: added body, with a more restrained change in length.
Meet AlixTRANSFORMATIONS
Before & After
 Before
 After
Volume Transformation
Hand-Tied Wefts • 3 Rows
Danni used hand-tied wefts to add length and fullness, with a custom colour match and a beach-wave finish that shows the blend and movement.
 Before
 After
Length & Dimension
Tape-In Extensions • Full Head
Aaryn used tape-in extensions to take this shoulder-length starting point into longer, dimensional waves. The colour blend and finishing cut bring the added hair into the overall shape.
 Before
 After
Hair Loss Solution
Mesh Integration • Crown Coverage
Mesh integration by Fluff adds coverage through the crown in this result. Attachment, comfort, daily care, and maintenance are assessed individually before choosing a plan.
 Before
 After
Color & Fullness
K-Tip Fusion • Dimensional Balayage
Fluff used individual K-tip placements for added fullness and a dimensional colour blend. The mix of tones creates depth and brightness through the finished style.
 Before
 After
Beach Wave Transformation
TAPE-IN EXTENSIONS • FULL HEAD
Alix used tape-ins for blonde length and a beach-wave finish. A shadow root and a custom colour blend keep the added length connected to the natural hair.
 Before
 After
Balayage Waves
HAND-TIED WEFTS • BALAYAGE WAVES
Hand-tied wefts by Fluff add length and fullness to this brunette starting point. The colour match and waved finish show the lighter dimension through the result.
PORTFOLIO
A Few Favourite Results


MORE WORK FROM FLUFF
More from the Studio
See more colour, cutting and styling by the Fluff team in our colour gallery.
Explore the colour galleryBefore the installation
The details behind the blend
Our October shoot catches the planning side of an appointment: comparing colour swatches, talking through the look and spending time in the studio.
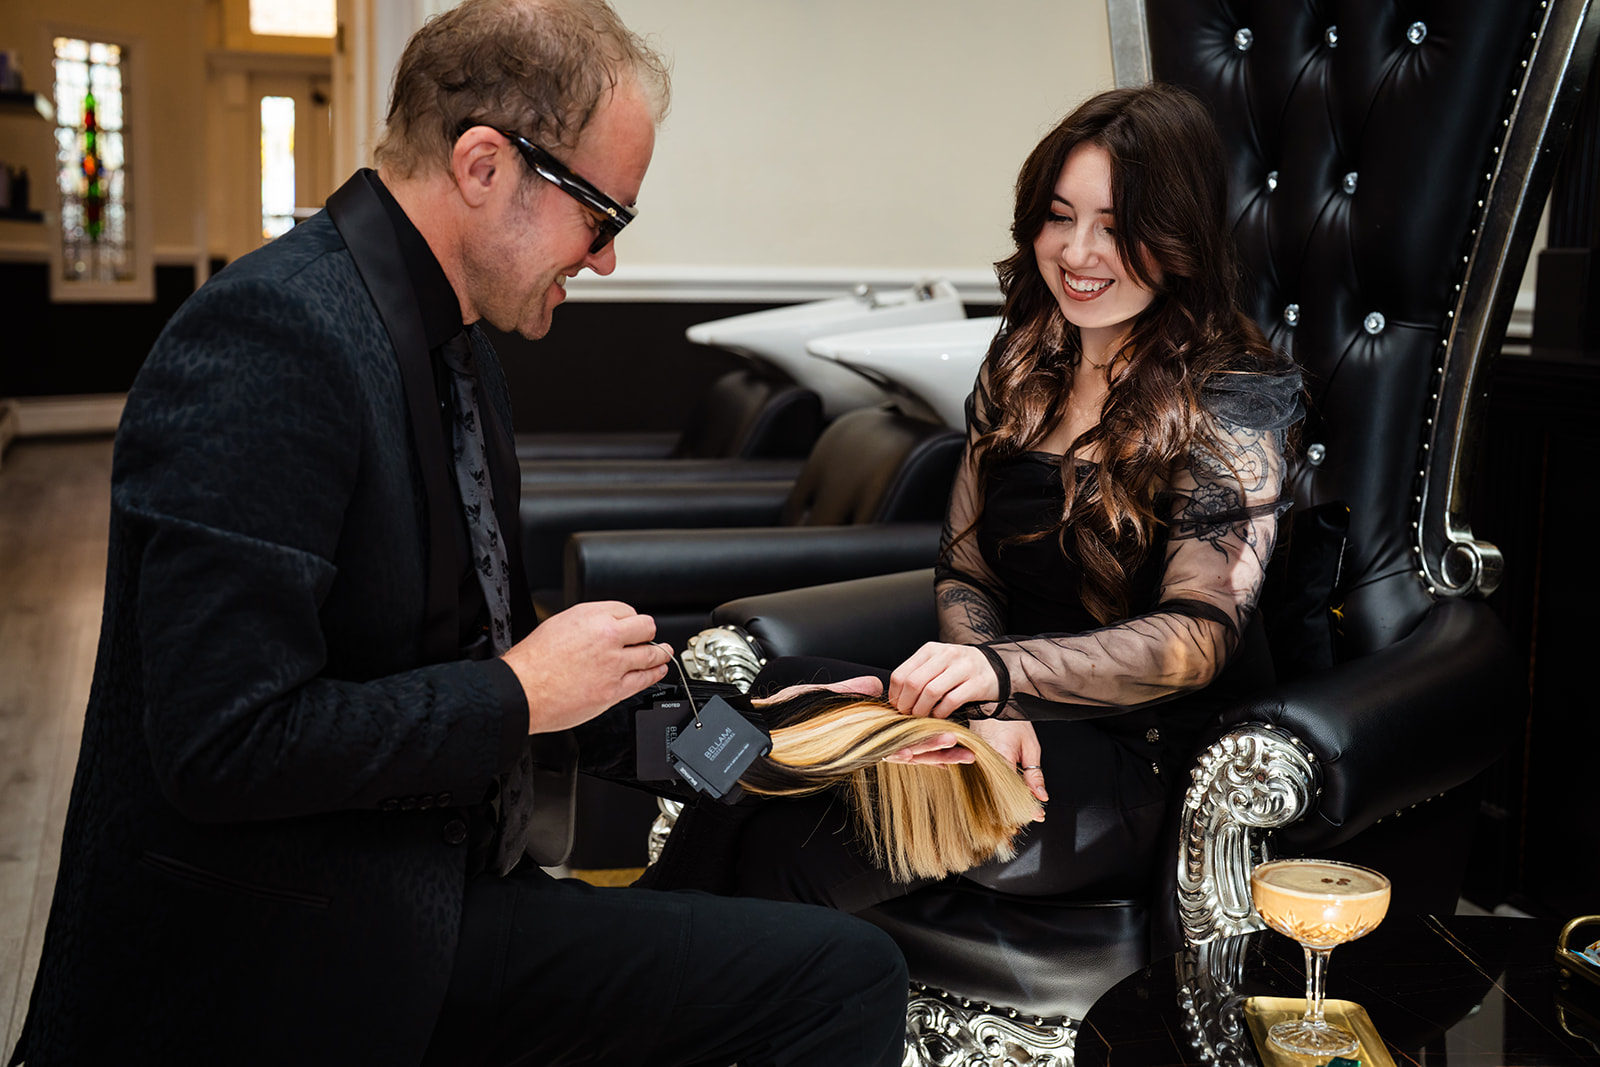
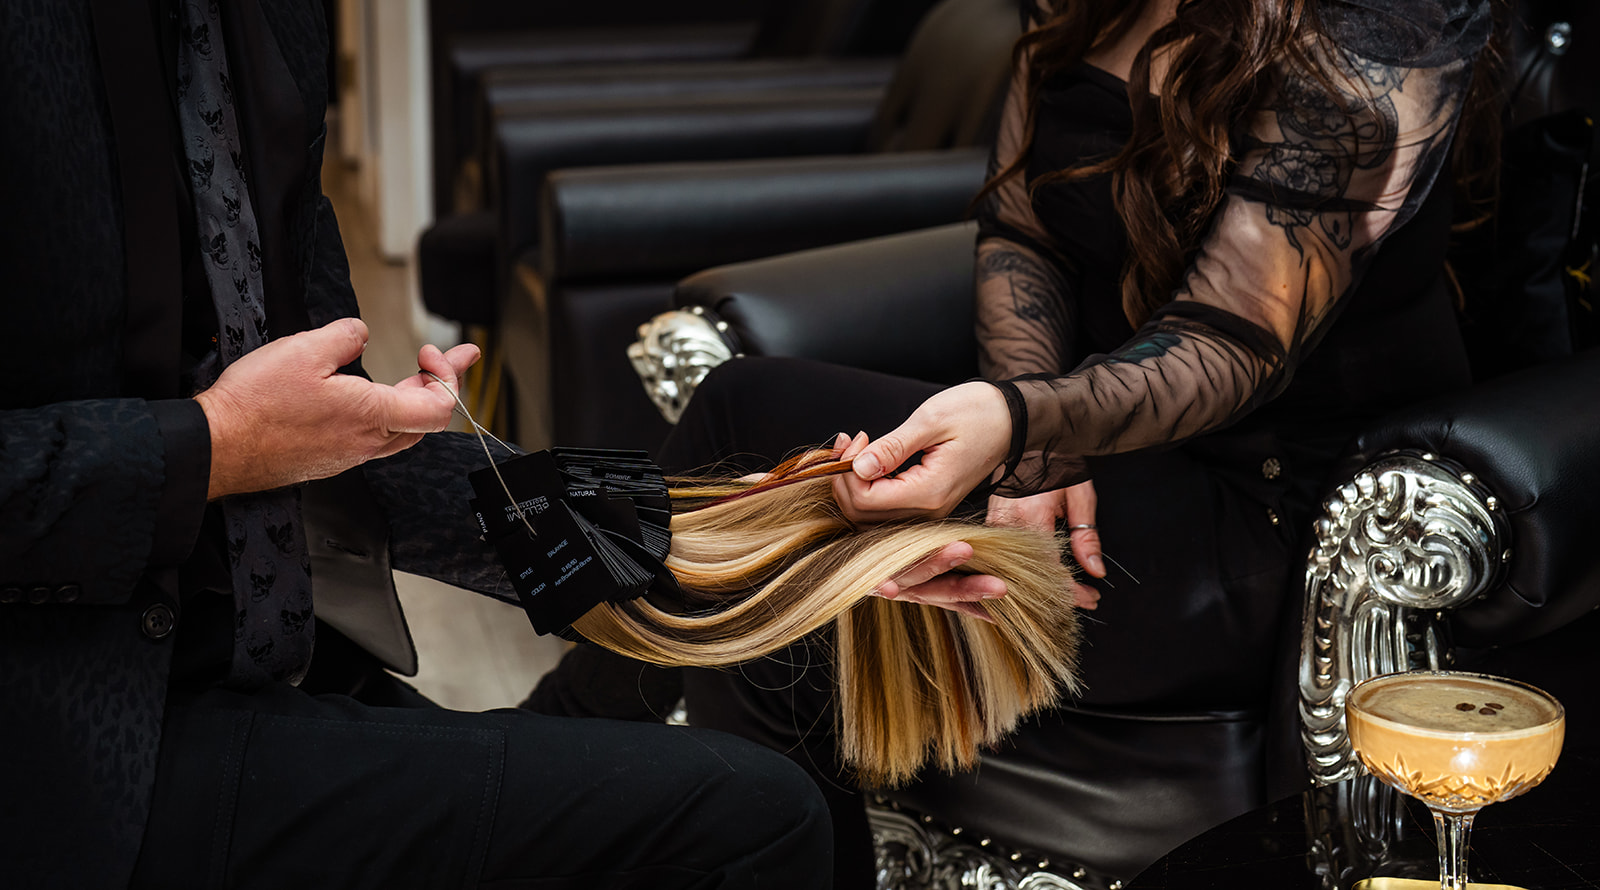
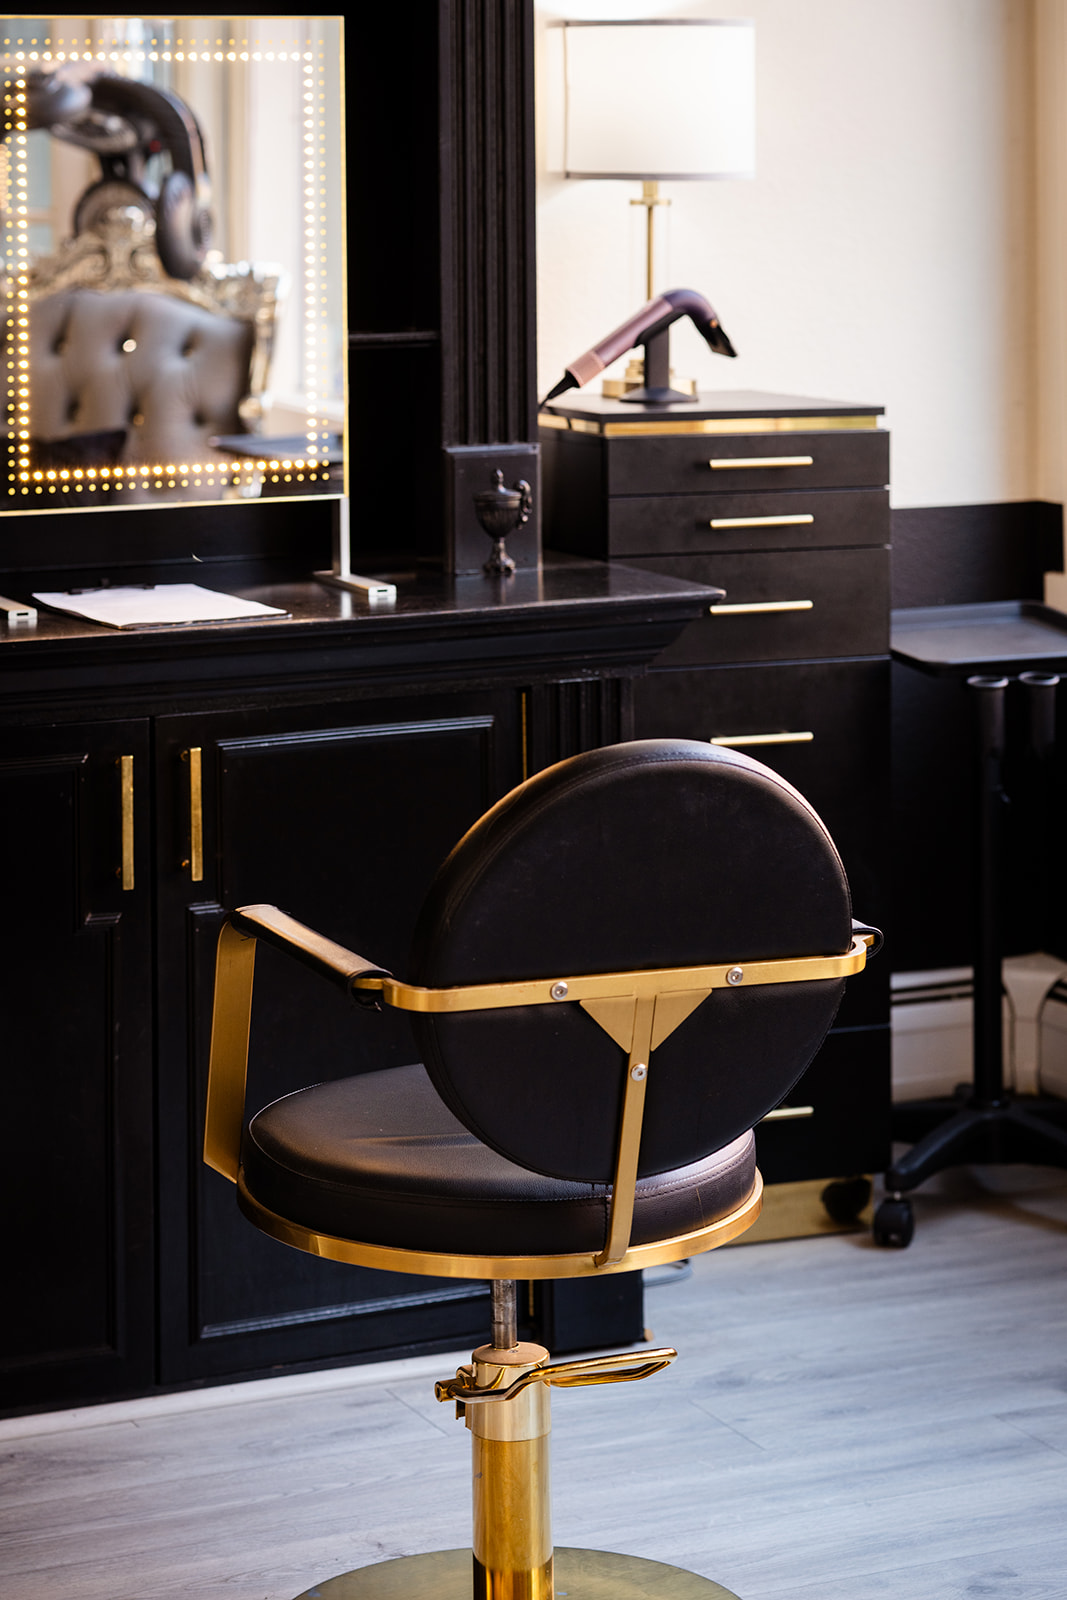
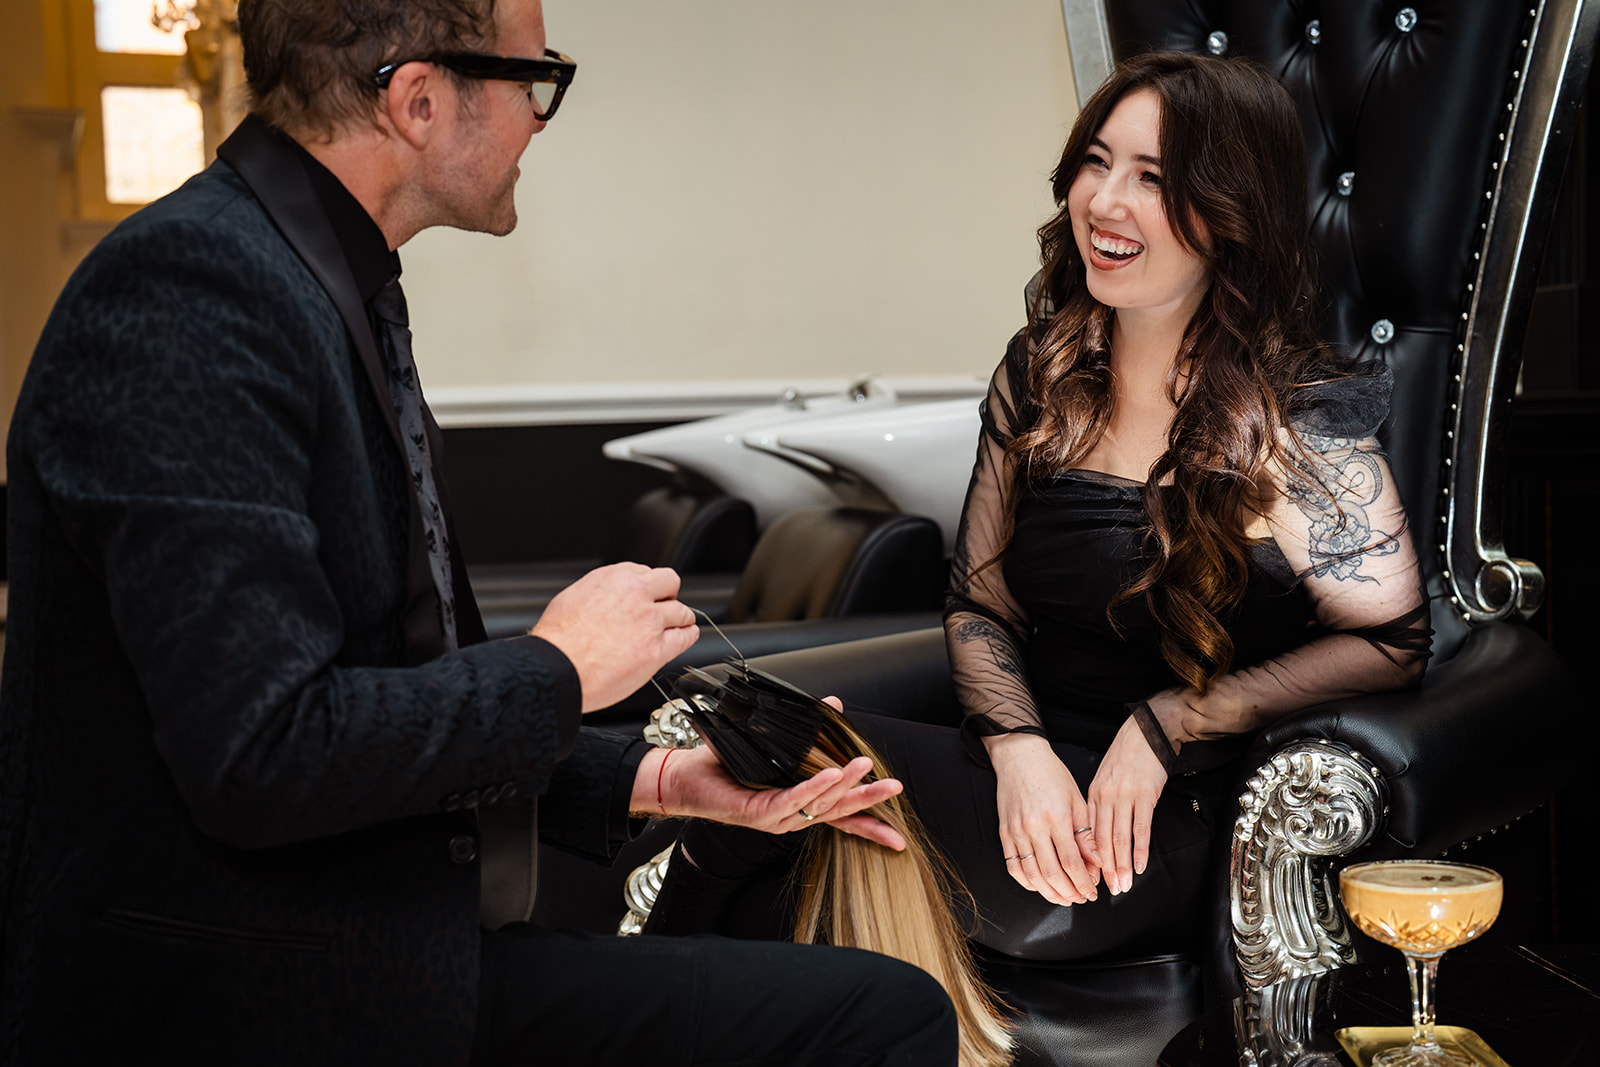
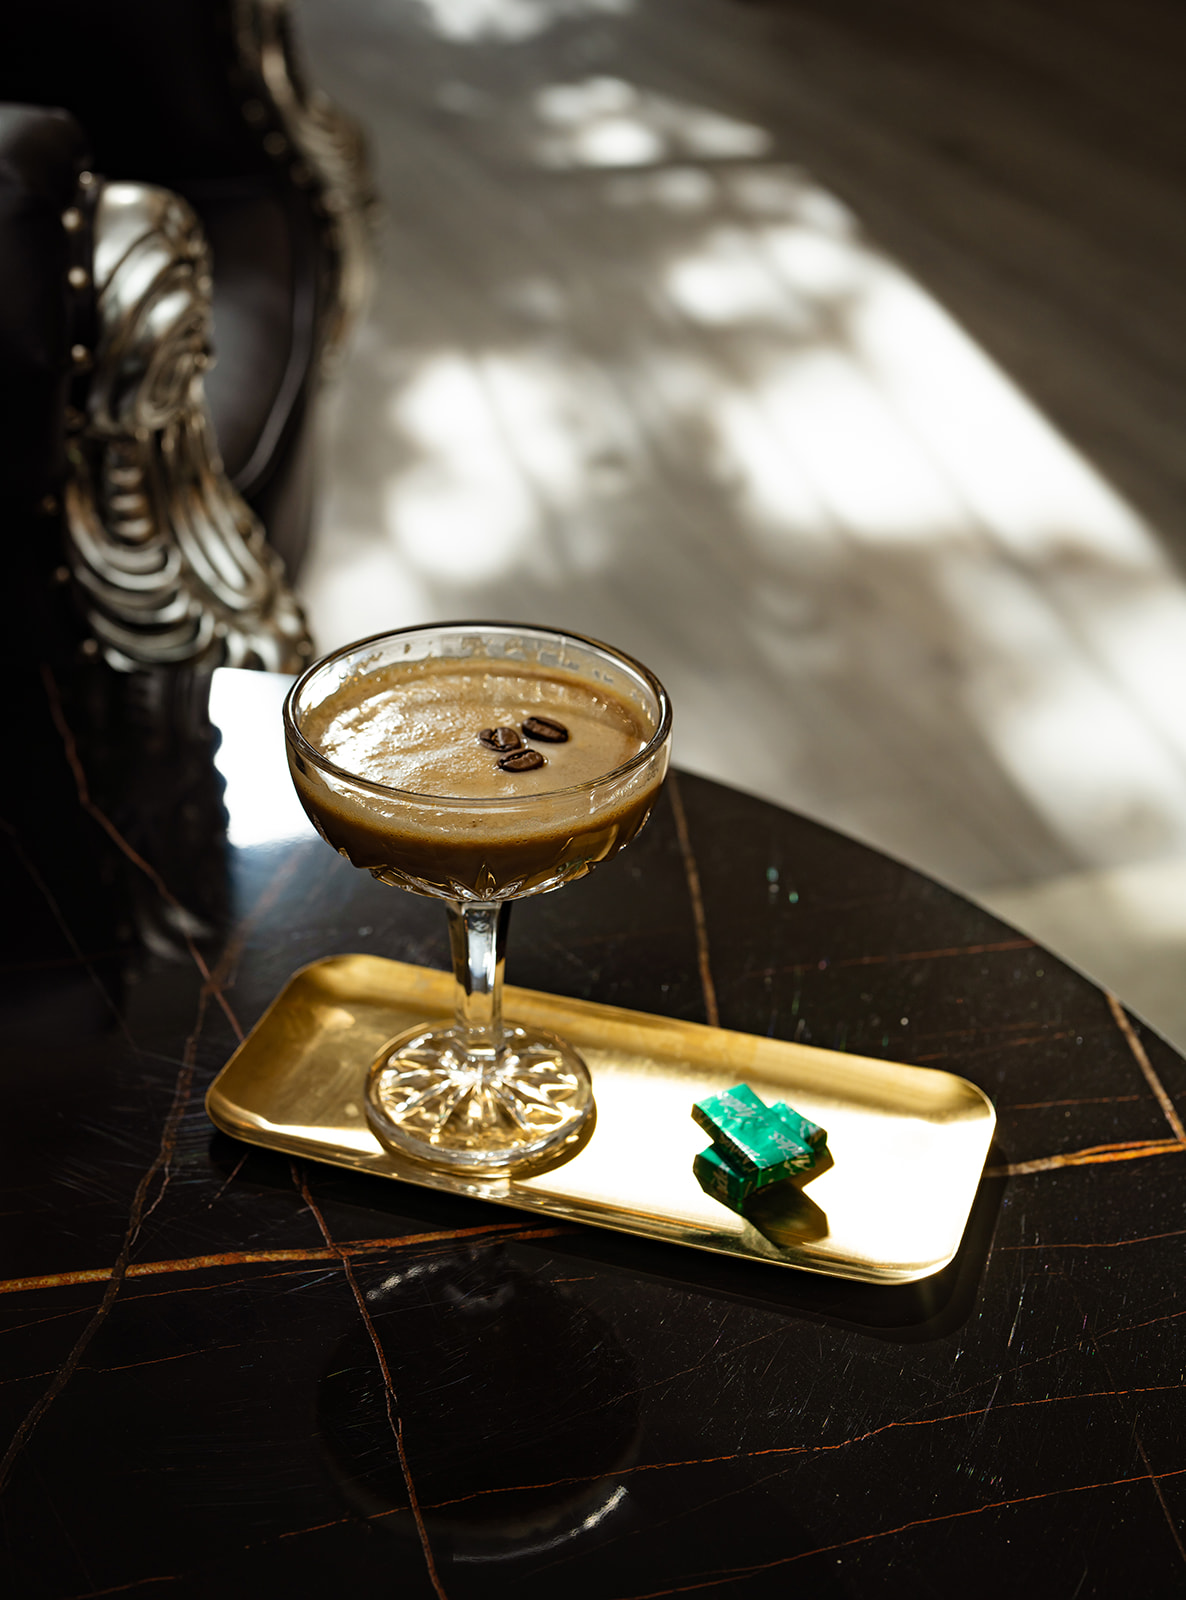
Fluff, photographed by Camera Girl Creative. October 2026.
YOUR TRANSFORMATION AWAITS
Ready for Your Own Before & After?
From photos to a plan
Explore the detail behind the result
Use these guides for the questions a finished photo cannot answer on its own.
A closer look
Look beyond the length
Save two or three results you like, then note what draws you to each one. You might want the fullness in one photo, the colour in another, and a shorter length than either.
Start with the before photo
Look for a starting haircut and density similar to yours. A blunt shoulder-length cut needs a different blend from long, fine layers, even when the finished length looks similar.
Think about how you wear your hair
Waves show movement and dimension. A straighter finish makes the outline and fullness through the ends easier to compare. Tell your artist which finish you usually wear, including whether you often tie your hair up.
Read colour from root to ends
Notice root depth as well as brightness. A dimensional result may combine several tones rather than one all-over shade. If you love a colour but not the length, save the photo and tell us which part you want to keep.
Know what a photo cannot tell you
A finished photo cannot confirm how an attachment feels, how much hair your own hair can support, or the maintenance that will suit you. Those decisions come from an in-person consultation, not a row count guessed from a picture.
Bring your saved examples to your appointment, along with a photo of how you usually wear your own hair. Our first-visit guide explains what to prepare and how we turn inspiration into a plan.